Internally AGK represents physics objects by providing a bounding box, a circle or a convex hull around sprites. By switching the physics debug mode on you can get to see how AGK is representing your sprites in the physics simulation. Switching this mode on will force AGK to draw the physics representations of your sprites on top of all sprites. This is great for debugging. Being able to see this on screen can help make a big difference to understanding how and why the physics simulation provides results.
This example creates four dynamic sprites that are placed alongside each other. A fifth sprite is created, that is positioned slightly below the other sprites and is static. Finally debug mode is switched on for physics.
The steps involved in this example are:
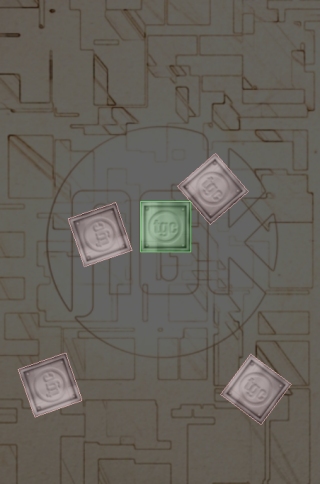
One image is loaded, which is then used by five sprites, which are laid out in a row, except for sprite three that is slightly lower down the screen:
LoadImage ( 1, "small_silver.png" )


CreateSprite ( 1, 1 )
CreateSprite ( 2, 1 )
CreateSprite ( 3, 1 )
CreateSprite ( 4, 1 )
CreateSprite ( 5, 1 )


SetSpritePosition ( 1,  50,   0 )
SetSpritePosition ( 2, 100,   0 )
SetSpritePosition ( 3, 140, 200 )
SetSpritePosition ( 4, 170,   0 )
SetSpritePosition ( 5, 220,   0 )
Four of the sprites are enabled as dynamic objects, while one is set up as a static object.
SetSpritePhysicsOn ( 1, 2 )
SetSpritePhysicsOn ( 2, 2 )
SetSpritePhysicsOn ( 3, 1 )
SetSpritePhysicsOn ( 4, 2 )
SetSpritePhysicsOn ( 5, 2 )
To switch debug mode on for physics it’s simply a case of calling the command SetPhysicsDebugOn. This function takes no parameters. To switch it off call SetPhysicsDebugOff. Please note that switching debug mode on is likely to negatively impact the frame rate of your game. Once switched on the overlaid shapes will be drawn with the following colours, in order to help you identify the kind of object they are:
Prior to our main loop the function SetPhysicsDebugOn is called:
SetPhysicsDebugOn ( )
The main loop in this example does not take any action. All it needs to do is make a call to Sync to ensure the screen is updated.
do
    Sync ( )
loop
The only alteration for the final program is the addition of a background image, which has its alpha level reduced to 100. Here's the final listing:
SetVirtualResolution ( 320, 480 )


backdrop = CreateSprite ( LoadImage ( "background2.jpg" ) )
SetSpriteColorAlpha ( backdrop, 100 )


LoadImage ( 1, "small_silver.png" )


CreateSprite ( 1, 1 )
CreateSprite ( 2, 1 )
CreateSprite ( 3, 1 )
CreateSprite ( 4, 1 )
CreateSprite ( 5, 1 )


SetSpritePosition ( 1,  50,   0 )
SetSpritePosition ( 2, 100,   0 )
SetSpritePosition ( 3, 140, 200 )
SetSpritePosition ( 4, 170,   0 )
SetSpritePosition ( 5, 220,   0 )


SetSpritePhysicsOn ( 1, 2 )
SetSpritePhysicsOn ( 2, 2 )
SetSpritePhysicsOn ( 3, 1 )
SetSpritePhysicsOn ( 4, 2 )
SetSpritePhysicsOn ( 5, 2 )


SetPhysicsDebugOn ( )


do
    Sync ( )
loop
This simple command is a great way of understanding how your sprites are represented in the physics simulation. It can be used to determine such things as whether a bounding box isn’t providing a tight fit around a sprite, and whether it’s better to use an alternative.
![]()
App Game Kit © The Game Creators Ltd. All Rights Reserved. Report an issue