Now it's time to take everything you have discovered so far and put it into practice, by creating a program where we can see how variables can be used. To do this we'll display something on screen that can have its position controlled by variables. In the interests of keeping things simple the something we'll display on screen will actually be a small blue rectangle, but with a bit of imagination this could be a space ship flying around a level you have constructed. Admittedly to get something other than text being displayed on screen we are kind of jumping ahead of ourselves a little, but it's going to be a lot more interesting than staring at text.
Here's the starting point for our program. Copy this code and run it.
CreateImageColor ( 1, 0, 0, 255, 255 )
CreateSprite ( 1, 1 )
SetSpriteSize ( 1, 10, 10 )


do
	SetSpritePosition ( 1, 30, 40 )


	sync ( )
loop
A glorious blue rectangle displayed on screen! Let's break it down and see what is happening.
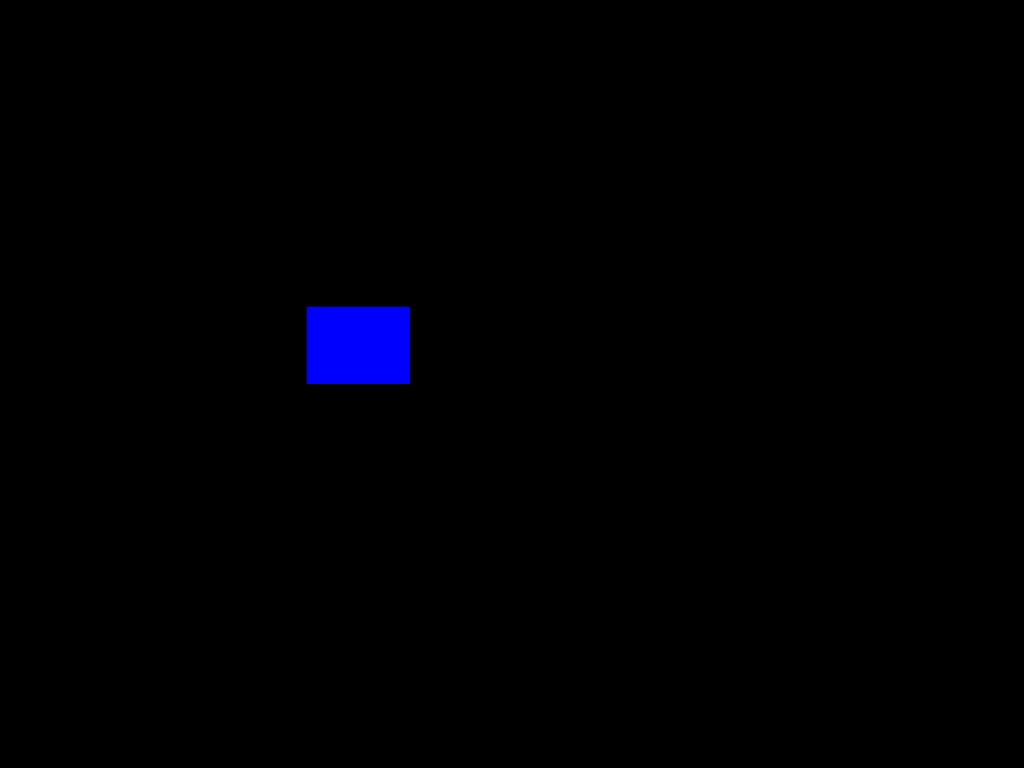
There's a lot going on here, although for now it's not too important to explore all of this in minute detail. The main thing is we've got something on screen that we can experiment with. The key command we'll explore in this program is SetSpritePosition. Three values are passed into this command 1, 30 and 40. These are known as parameters. The first parameter is 1, the second parameter is 30 and the third parameter is 40. Try changing the second parameter 30 to 0 and running the program. Notice how the blue rectangle has been moved over to the left side of the screen. This parameter controls the position of the rectangle on the X axis. As this value increases the rectangle will move over to the right and as it decreases it will move over to the left. Now try modifying the third parameter to 0. Note this time that the rectangle has moved up. This parameter controls the position of the rectangle on the Y axis. As it decreases the rectangle moves up the screen and as it increases the rectangle moves down.
Instead of passing in a fixed number such as 30 to control the X position we can instead use a variable. Lets declare a variable named shipPositionX in our program and pass it into the command SetSpritePosition.
shipPositionX as integer = 0


CreateImageColor ( 1, 0, 0, 255, 255 )
CreateSprite ( 1, 1 )
SetSpriteSize ( 1, 10, 10 )


do
	SetSpritePosition ( 1, shipPositionX, 40 )


	sync ( )
loop
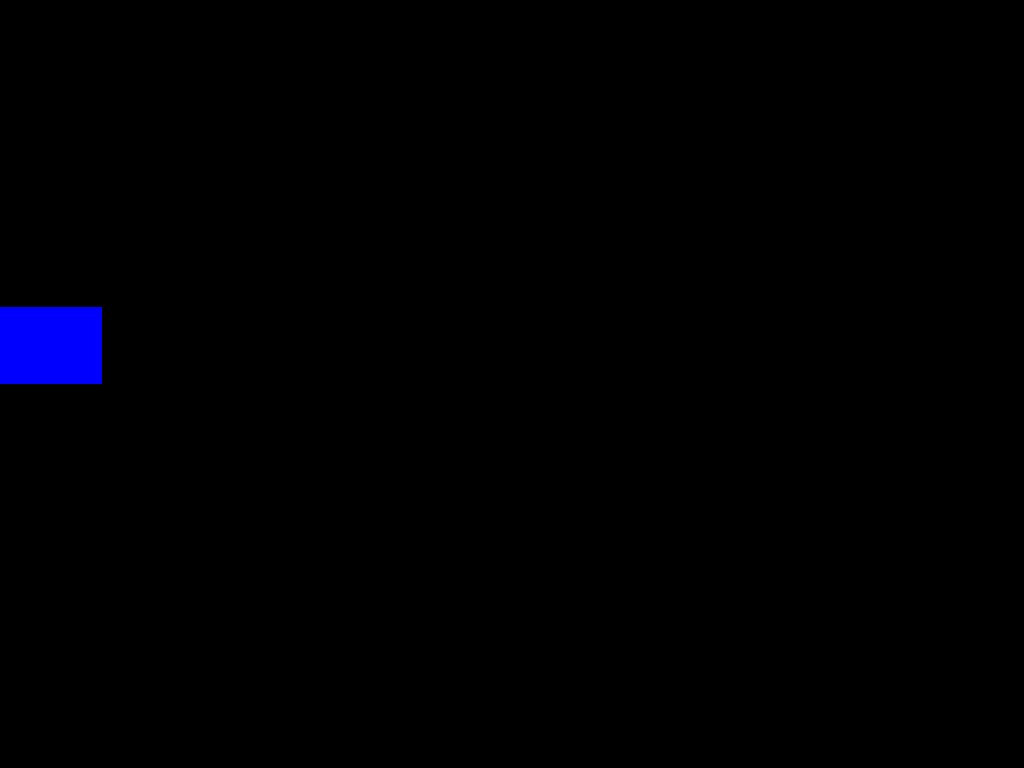
When the program runs the value of shipPositionX is 0, therefore the position of our ship / blue rectangle is over to the left side of the screen.
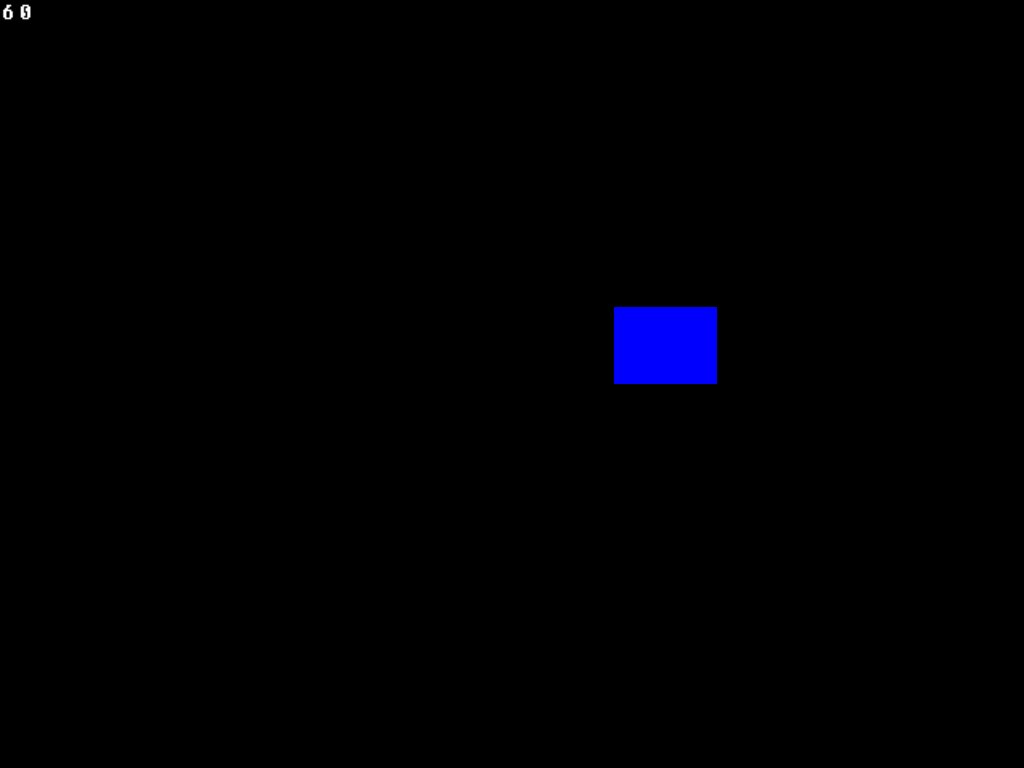
Now what you will find is that the ships position (at least on the X axis - going from left to right on the screen) is being controlled by the value assigned to shipPositionX. Try changing the initial value of shipPositionX to 50. Notice how the rectangle has moved over to the right of the screen.
With one simple change our rectangle can be made to move or fly from one side of the screen to the other. The addition of this line in our do loop is all that is needed -
shipPositionX = shipPositionX + 1
What it does is first of all work out the value of shipPositionX + 1 and then assigns the result to shipPositionX. So it will start off at 0, then 1, then 2 and continually count upwards. To help make things a little clearer the print command will be called passing in shipPositionX so we can see its value on screen. Again this line can be added into our do loop.
print ( shipPositionX )
Our latest program should now look like this.
shipPositionX as integer = 0


CreateImageColor ( 1, 0, 0, 255, 255 )
CreateSprite ( 1, 1 )
SetSpriteSize ( 1, 10, 10 )


do
	print ( shipPositionX )


	SetSpritePosition ( 1, shipPositionX, 40 )
	shipPositionX = shipPositionX + 1


	sync ( )
loop
Now when you run the program the blue rectangle will move from the left side of the screen to the right.
This examples displays a scenario where we might not be using the best data type for what we're trying to achieve. The rectangle moves across the screen very quickly and as we're only adding 1 to its position each cycle of the loop (the smallest amount we can add), then we can't slow it down so easily. If we wanted to move it at a slower rate then we would be better suited to using a floating point variable instead and adding a smaller value to shipPositionX each cycle of the loop. Here's how it can be achieved.
shipPositionX as float = 0


CreateImageColor ( 1, 0, 0, 255, 255 )
CreateSprite ( 1, 1 )
SetSpriteSize ( 1, 10, 10 )


do
	print ( shipPositionX )


	SetSpritePosition ( 1, shipPositionX, 40 )
	shipPositionX = shipPositionX + 0.01


	sync ( )
loop
Now when you run the program the blue rectangle will move very slowly across the screen. The advantage of using a floating point variable is that we now have greater control over the precision of our movement.


![]()
App Game Kit © The Game Creators Ltd. All Rights Reserved. Report an issue